Choosing a bike is probably quite an important step in cycling around the world. It’s worth investing in something decent but don’t think you need a premium model to ride a long distance. Anything can break – even the most expensive bicycles. I’ve met people cycling thousands of miles on dirt cheap bikes. I have also met people on short tours riding bikes worth 2 grand. Much of it depends on your budget, your skill as a mechanic and how lucky you are feeling.
I knew nothing about bicycles before leaving. I read up on touring bikes, guessed my frame size and got an ex-display Dawes Super Galaxy off Ebay for £650 a fortnight before I left. Steel frame touring bikes are designed to last and so buying a second hand frame isn’t a bad idea. (Remember, if you buy one second hand for a certain price you can probably sell it for a similar amount when you’re back home!)
Take the time to measure yourself and get the proper size bike. I didn’t and as a result destroyed my knees the first week of cycling. You don’t need to go through the pain that I did. Go to a bike shop, pretend you are going to by a bike and get someone there to tell you what size you need.
Frame
I’d recommend a steel frame for a long tour. It’s heavy but strong. If it breaks (frames rarely crack, they split first) you can weld it easily. You can find someone to weld within a few days ride anywhere in the world.
Handlebars
I cycle with drop handlebars simply because they’re the ones that came with the bike. Most touring cyclists I meet have butterfly handlebars. They give you more options for changing hand positions and more space for adding parts (eg. GPS or water bottle cage). It’s good for the hands to be able to move position on the handlebars otherwise they can numb under constant pressure from long riding days. If you have straight handlebars consider getting right-angle bar ends so you can move your hands from time to time. I’m very happy with my drop handlebars – especially when I’m climbing a steep hill.
Rims
I ride on 28” Alex Rims.They have lasted pretty well. You may want to invest in fancy ‘extra strong’ rims but I have never bothered. My front one got badly bent in a crash in Georgia but straightened out and has somehow lasted 25,000km since. The rear one started to show splits by the time I reached Australia so I changed it before tackling the outback. I would never have found a replacement 28” in East Indonesia & Timor-Leste but I could keep riding with a dodgy rim until Australia. Like frames, rims don’t usually just crack open. They wear over time, the tension becomes uneven, spokes start pinging and hair splits will show. Many cyclists touring the world ride on 26” rims. These are far easier to replace as the smaller rim size is more common. Had I known this at the start I’d probably have picked them instead of my 28” pair.
Tyres
Buy a decent pair of tyres. Cheap ones wear through quick and puncture all the time. Premium tyres (like Schwalbe or Continental) do not cost a lot and the investment is worth it. If you keep an eye on the pressure (I would recommend carrying a pump with a gauge even though I don’t) you can easily get 10,000miles out of them.
I have pedalled on Schwalbe tyres from the start and I have no desire to change. I’m not convinced the more expensive ones are worth the extra money. My first pair (that came with the bike – I had no idea there were different types of tyres) were Performance Line 1.20”. They are not designed for touring and yet I covered almost 10,000km before I got a puncture. When I bought the ‘puncture proof’ 1.40” Mondials I had half a dozen flats in the first few thousand km.
I never carry a spare tyre – that’s how much faith I have in them. That said, if I were in a pair I would probably buy one of Schwalbe’s folding tyres to keep in the bottom of a pannier… just in case.
I’m currently riding 1.40” Marathon Plus. They were all I could find at the time but I would rather be on something wider. I ran that tyre size across the Pamir Highway and the sandy outback but it was often a frustrating experience. If you are planning on spending a lot of time on dirt roads or snow get something fatter, then you have a greater margin to play with on your pressure and you will have a more comfortable ride.
Brakes
I have mechanical disc brakes on my Dawes. I know many touring cyclists who swear by rim brakes and many who insist on discs. Rim brakes are cheaper but they last less time. Breaking power is far superior with disc brakes. This isn’t actually that important when your touring on a loaded bike and you won’t be going that fast, but if you’re in muddy or wet conditions they hold up a lot better.
I used to think that mechanical disc brakes were really complicated. They’re not. They just look more fiddly than rim brakes but they work in more of less the same way. The main reason why I prefer disc brakes is that they don’t wear the rim. Discs wear (but I only changed mine after 25,000km) and they are cheaper to switch than rims.
If you are thinking about getting hydraulic disc brakes. Don’t do it! Only install them if you know exactly how to fix them yourself because no one else in the world will be able to help you.
Gears
The number of gears you have is not important. It is how low they go. My front gear shifter is broken so I can’t get into my top third – that doesn’t matter. With my heavy load I’m rarely pedalling at 30km/hr. What is important is that I can get super low to get up those steep hills.
I have a 10 speed rear cassette which I have changed once. Remember that if you want to buy premium parts you will have to pay premium prices to replace them and they will not be easy to find everywhere in the world.
My rear derailleur has given me more trouble than anything else on my bike. The hanger bent after a stick went into the frame and it has never been straight ever since. The advantage of steel is that you can bend it but after it happened again I left it ‘straight-ish’ because if you keep bending the metal it will eventually snap. I’d rather have had a frame with an external hanger (those parts bend more easily but they are a simple replacement) because a snapped hanger is a big problem.
If you have an integrated hanger consider buying a protector to hang over it. I’ve been meaning to get one for a very long time. Had I had one from the start I would have had far few problems…
A word on Rohloffs
Many touring cyclists swear by their rohloff hubs. I would never buy one. They cost an absolute fortune and do the same as normal gears. Apparently they never break. That’s not true – everything can break. If I had cycled my Silk Road route and a problem had arisen with my rohloff I’d have been totally stuck between Istanbul and Bangkok. Yes, they are very clever bits of gear but I would only really consider one if I was riding a recumbent (as then I would really benefit from being able to change gears in a stationary position).
Saddle
Another debate that rages among touring cyclists. I don’t really feel able to comment on different saddles because I’ve only ever had one – a Brooks B17. They’re not cheap and at first they feel like a rock under your bum but over time they mold to your butt cheeks. I didn’t look after mine properly. If you are going to spend that much on a saddle get some wax and look after that leather.
If you have a leather saddle you shouldn’t really need padded shorts. I cycled in normal boxer shorts the first few months and then switched to padded lycra underwear. The advantage of the lycra is that it wicks the sweat away from your arse. In humid areas rubbing in your own sweat is very unpleasant. Once you’ve experienced third degree burns between your ball bag and inner thigh you will be very careful about your under garments. Trust me.
I don’t like cycling underwear. Now that I’m back in colder climates I’m just wearing sports boxers (from Decathlon). You’ll just have to see how you get on. Some people never chafe or suffer saddle sores, others do…
Pedals
To clip or not to clip… That is the question.
And it is one to which I have no good answer. I have never tried cycling with clip-in shoes so I can not really argue either side of this. I am sure that they make things easier and I am sure that they make your leg muscles a little less lob-sided. But, I have pedalled thousands of miles without them and so I can promise you that they are not essential (even on the biggest mountains).
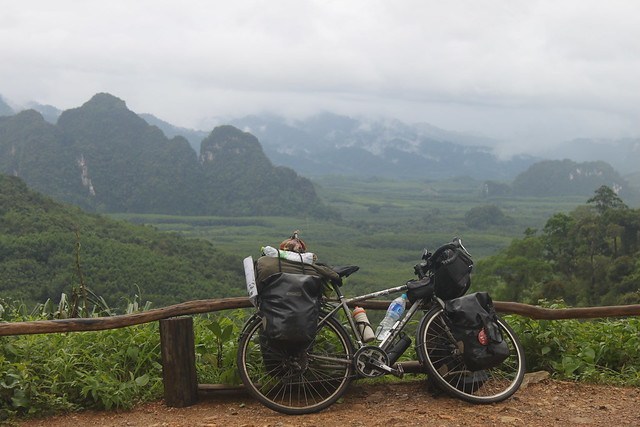
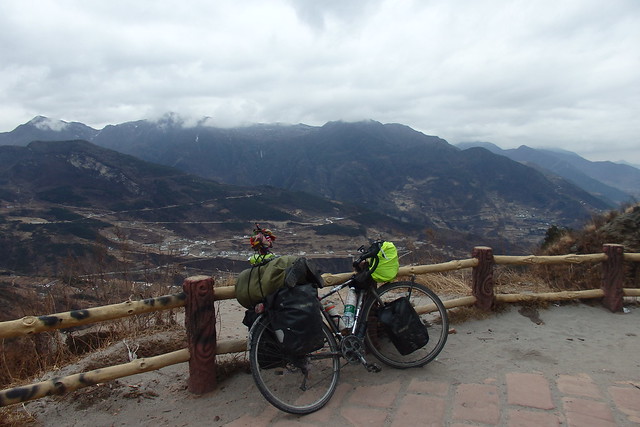
Panniers
I cycled the first two years with Ortlieb panniers (‘city rollers’ on the back and ‘classic’ on the front. They are the most popular bags for touring cyclists but I was unimpressed with them. 3/4 had holes within 18 months on the road. I also cycled with a Topeak handlebar bag which was completely useless and have had multiple cheap Chinese dry bags strapped onto the back.
The good people at Carradice have sent me out a set of their Super C bags so once I’m back on the road I shall have to update this sections and let you know what I think of them!
Stands
For the last few months I’ve been cycling without a stand. I can’t stand it. The problem is that many kickstands wear into your frame when supporting a heavily loaded bike. I’ve had a bunch of stands and none have worked properly. The best was a dual-leg one under the frame but that began cutting into the frame. I’ve had both expensive and cheap ‘normal’ kickstands, none of which have lasted. Some frames have built-in mounts for stands and these seem to work better. Other frames are compatible with stands that mount in two places, these are much better but my frame size doesn’t fit them. One day I will order a click stand and report back on its results!
Maintenance
I knew nothing about bicycle maintenance before I left. It took me an hour to fix my first puncture. I always knew what I was supposed to learn but I was always to lazy to actually practice. Fortunately you don’t need to be a bicycle expert to ride around the world. Repairing flats becomes a routine fix pretty quickly but other things only break once in a blue moon. For those things I had a bike maintenance book stored on my Kindle or had saved Youtube videos on ‘how to fix’ the problem until I felt confident.
It’s easy to practice. Just take a part off and put it back on. Once you’ve done it a couple of times you can do it again.
Here are some things that would be useful to know before leaving:
Changing an inner tube and patching a puncture
Replacing gear and brake cables
Replacing brake pads and adjusting them
How to true a wheel
How to change a spoke and remove the cassette
How to repair a broken chain
If you have a pressure gauge, keep an eye on your tyres’ PSI to get the longest mileage out of them. Clean and oil your chain frequently. Bike nerds will argue for days about which lube is best but anything will do the trick. Give your chain some TLC after rain and dirty roads. A happy chain is a happy rider.
When you are riding on dirt roads check your bolts every few days. Consider putting tape over the screws on your panniers so that when they ping out (and they will after enough miles on corrugated tracks) you don’t loose them forever.
Some cyclists alternate chains every 5,000km to keep the cassette from wearing. My attitude is just to keep riding until the chain starts skipping too badly. My motto is: ‘it ain’t broke don’t fix it’ but the guys in bike shops never agree with me.
What to carry?
An extra inner tube
Patches and glue
Spare brake cable and gear cable
Couple of spokes (tape them to the frame)
Multi-tool
Chain breaker (if not included in your multi-tool)
Spoke wrench
Power links (for quick fixes on broken chains)
Spare section of chain
Extra screws and bolts
Pump (would recommend a light-weight one with gauge that you can pump on floor)
Chain lube and rag (I also carry a scouring brush to clean my chain)
Mini cassette remover (I’ve never had one but there were times I wish I did!)
And most importantly…
Keep calm! You are not the only person on the road. If worst comes to worst just stick your thumb out and hitch a ride to the next town with a bike shop.
